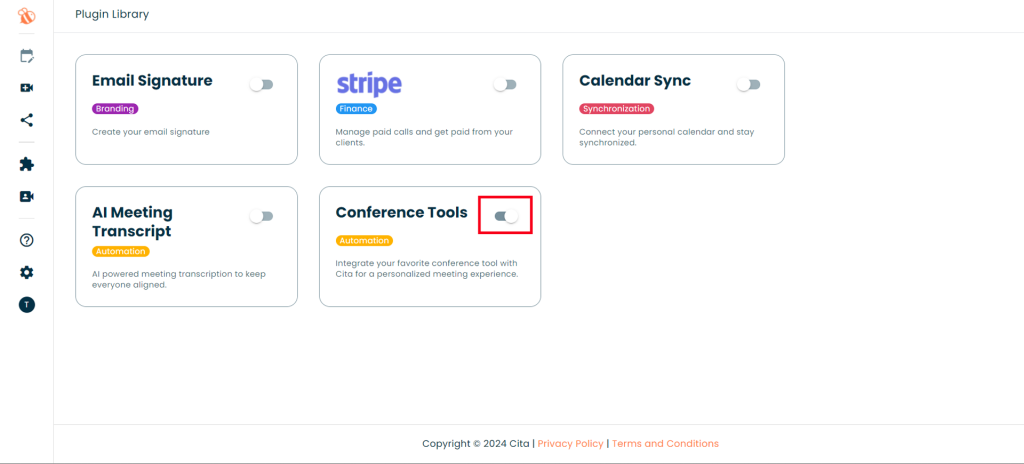
First go ahead and head over to the widgets store.
Next head over and switch on the Conference tool widget
click the ‘Conference tools’ button in the sidebar.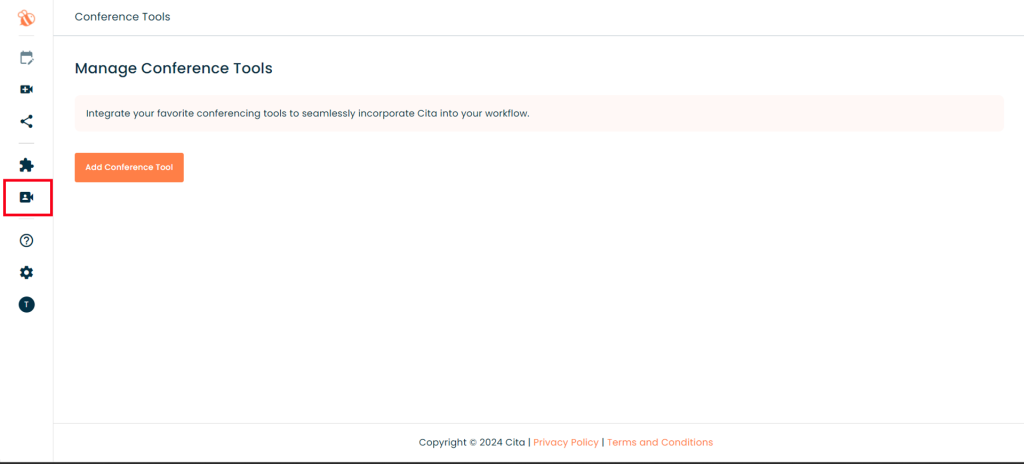
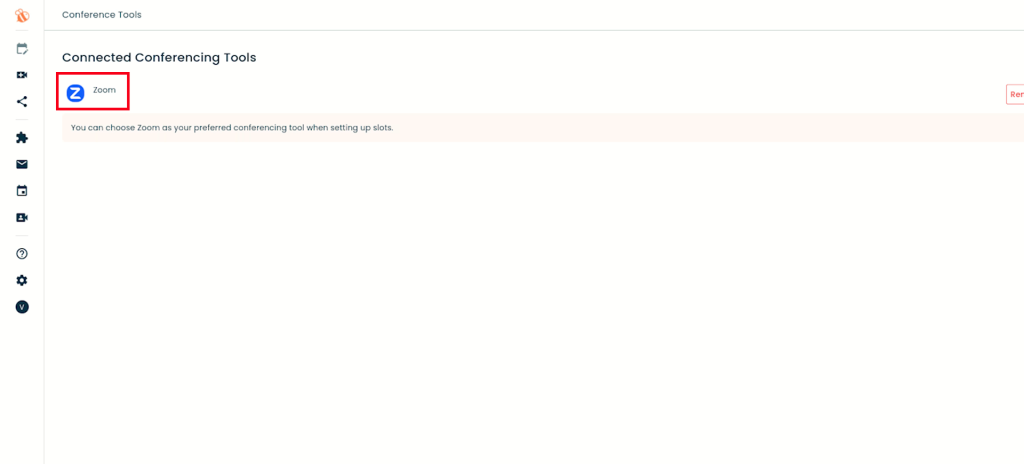
The system will open the Manage Conference tools page. Click the ‘Add conference tool’ button then select the Zoom 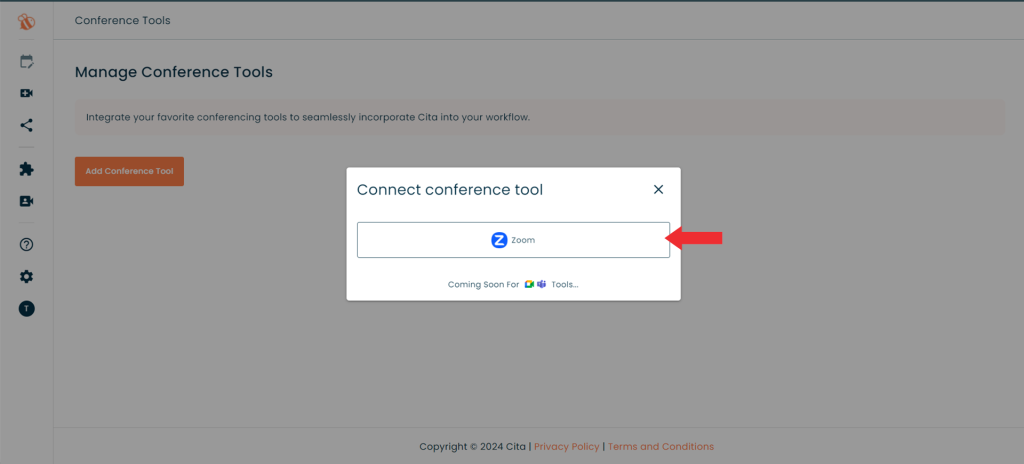
Sign in to your account by providing the credentials, Allow the permission that is being requested
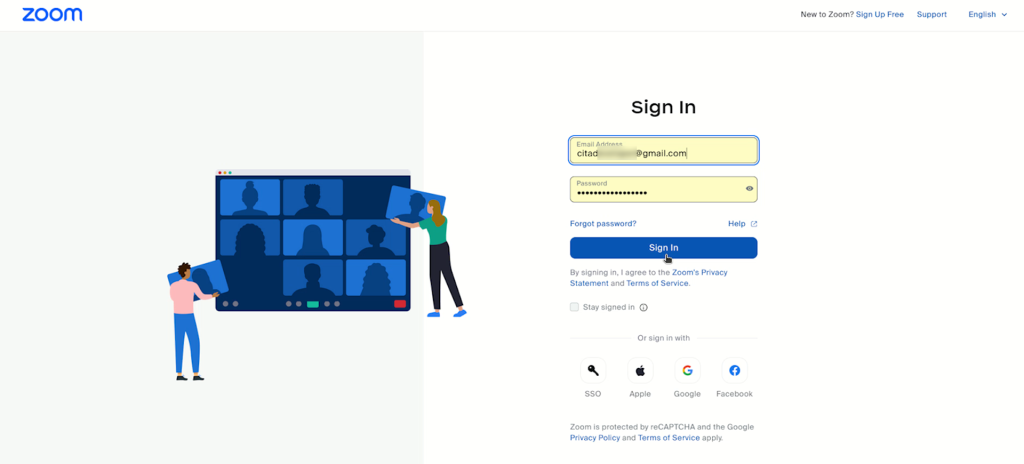
The Zoom account will be linked successfully. After successfully connecting with Zoom users will be able to schedule meetings via Zoom.
Adding slots with Zoom
After successfully integrating with Zoom, the user will be able to add Zoom for an online meeting with ease
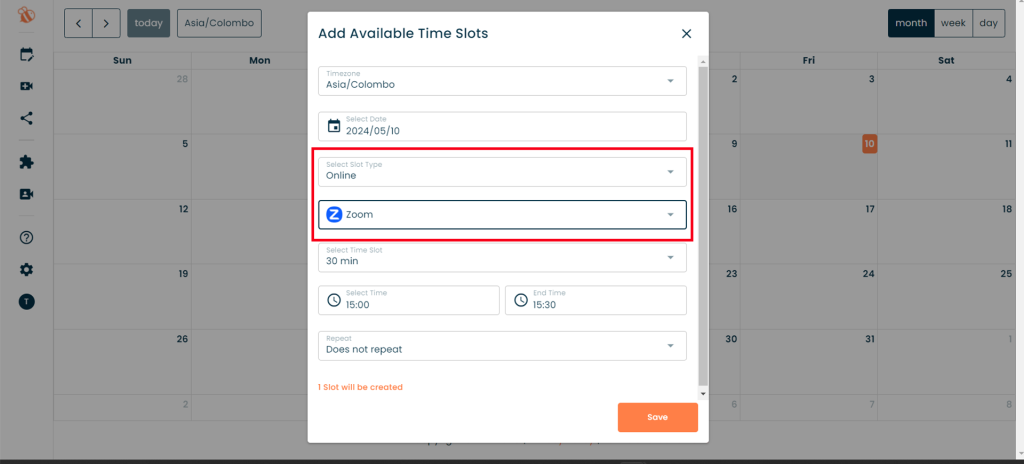
- Click the Add Slot button
- It will open the Add slot .
- User fills in the required information: slot type- Online, conferencing tool: Zoom, time slots including start time and end time
- Save the slot so that a Zoom-related slot will be added relating to an online meeting.
Schedule a Zoom meeting
- Select the Schedule a meeting option
- Pick the date
- Select the created slot with Zoom.
- Add client details & add guest details
- Add scheduling details.(The conferencing tool will be shown as Zoom)
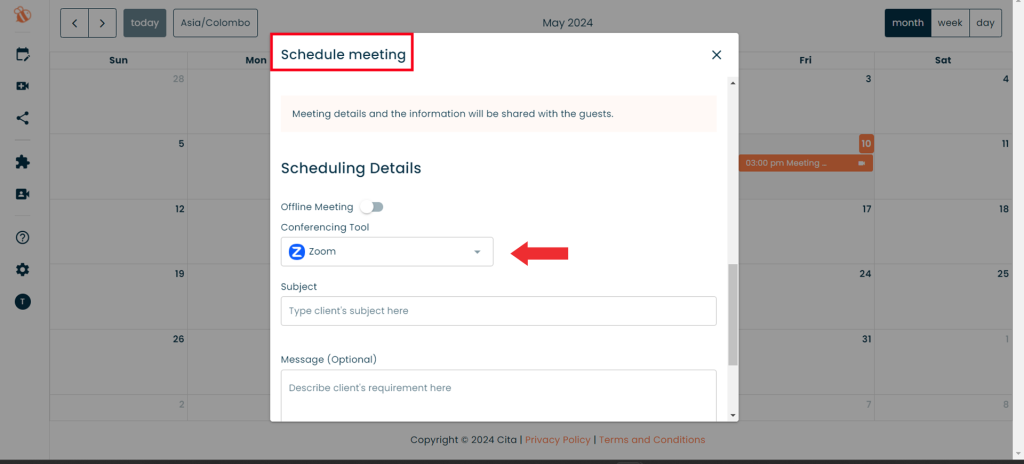
- Finally confirm and schedule the meeting
- Then a Zoom meeting will be scheduled and the participants of the meeting will get the relevant Zoom link

Remove Zoom
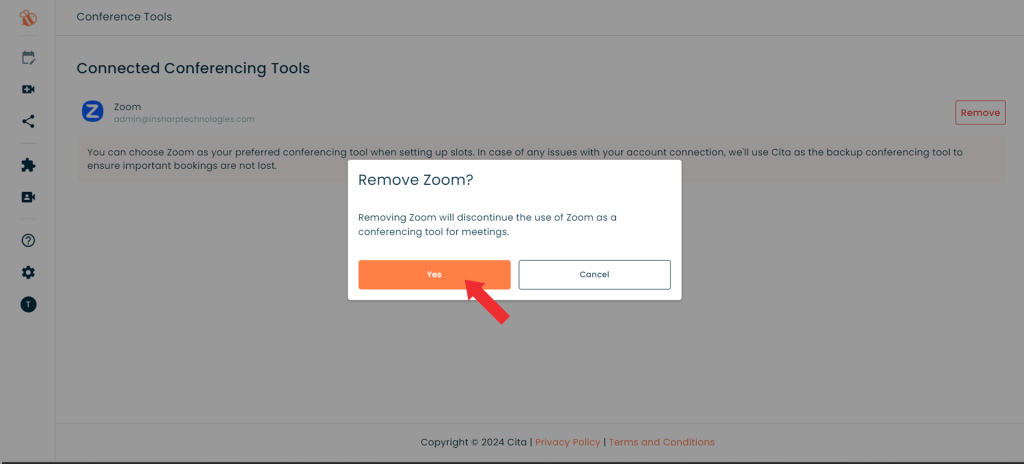
User that has connected with Zoom can remove his/her Zoom account if needed using the remove option via the conferencing tool configurations view.The user navigates to the connected conferencing tools page.
- Select the Remove button next to the connected Zoom account they wish to remove.
- The system will display a reconfirmation.
- The user clicks ‘Yes’ in the reconfirmation.
- After removing Zoom, it cannot be used further as a conferencing tool for meetings.
 Z
Z