Enable the Custom Forms Widget
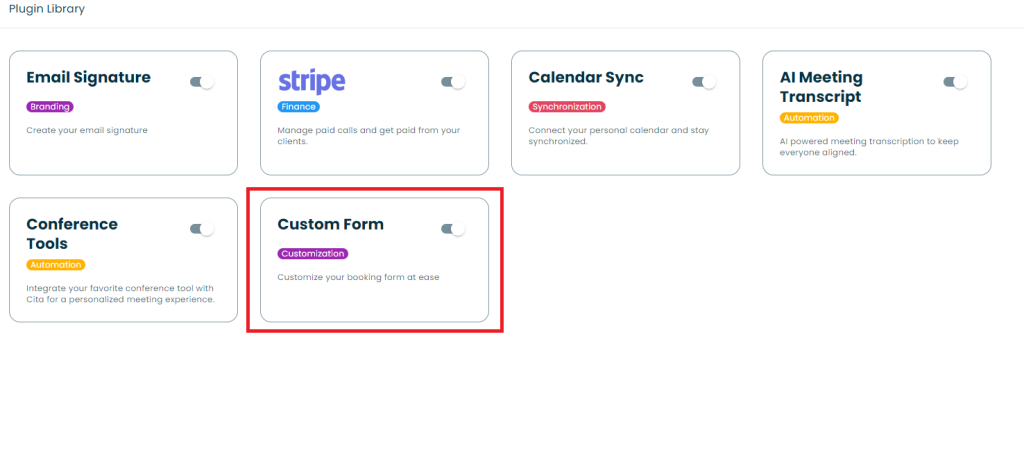
Head over to the widget store

Switch on the Custom forms widget
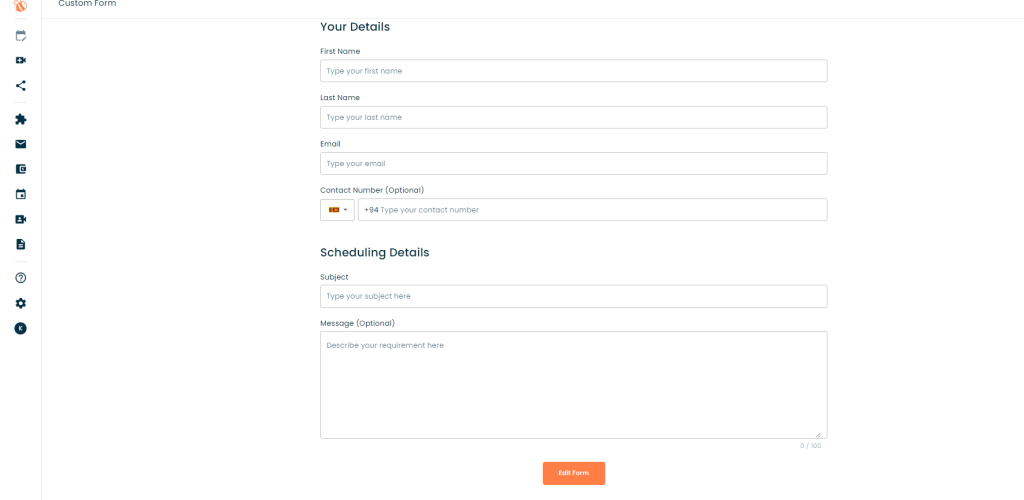
Click the ‘Edit Form’ option to customise your form.
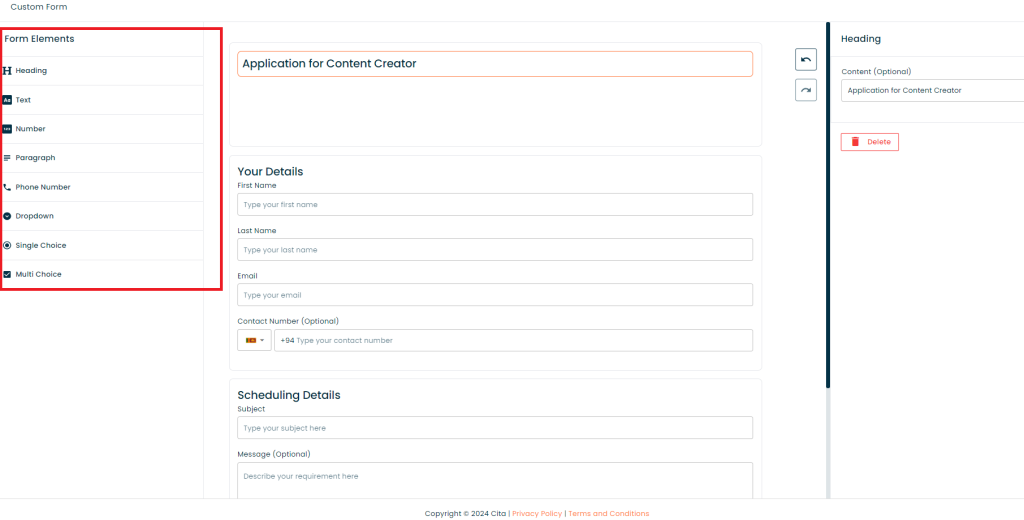
You can use the multiple form elements to customise your form however you like. From adding headings, drop downs and even multiple choice questions.
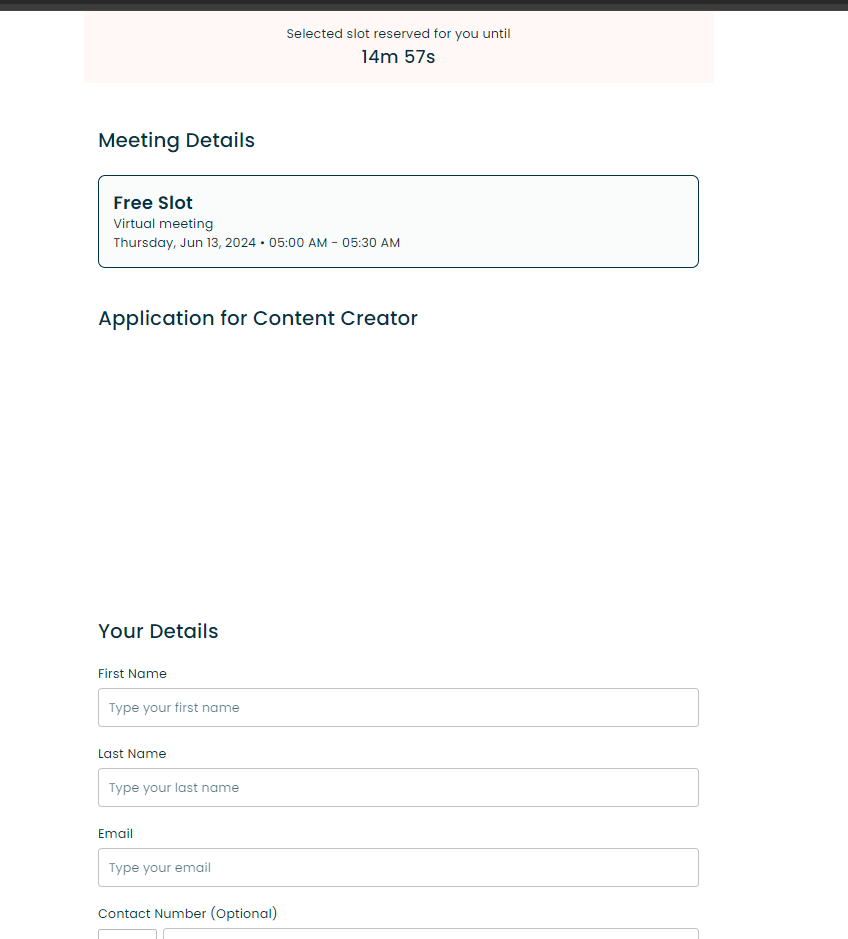
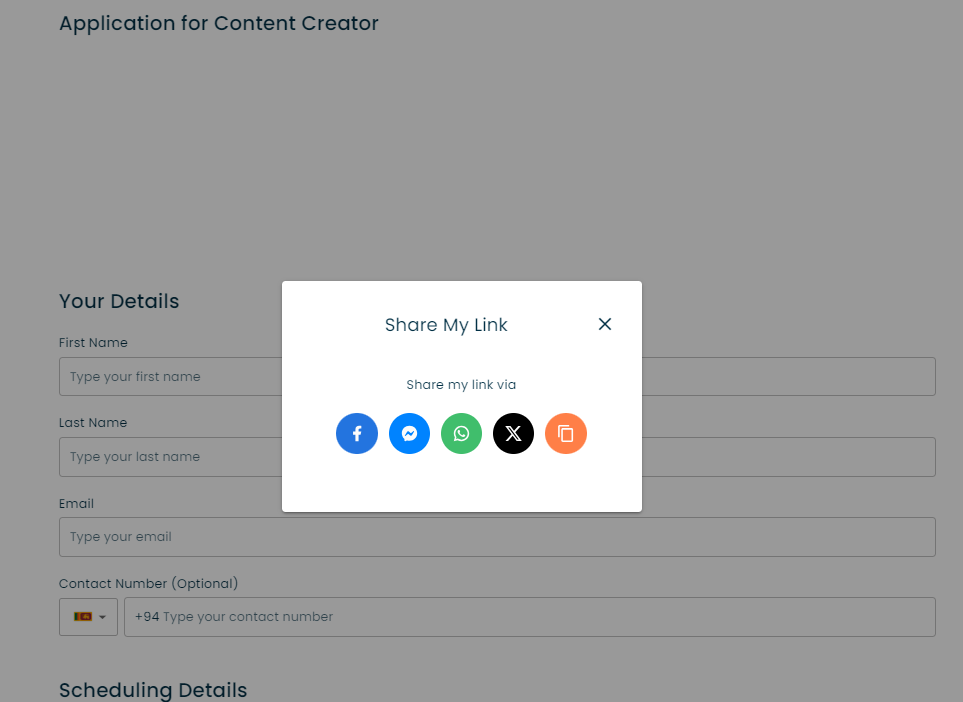
Save your changes and then share your Cita link for your clients to fill out the form!
Your clients can now fill your customised form!